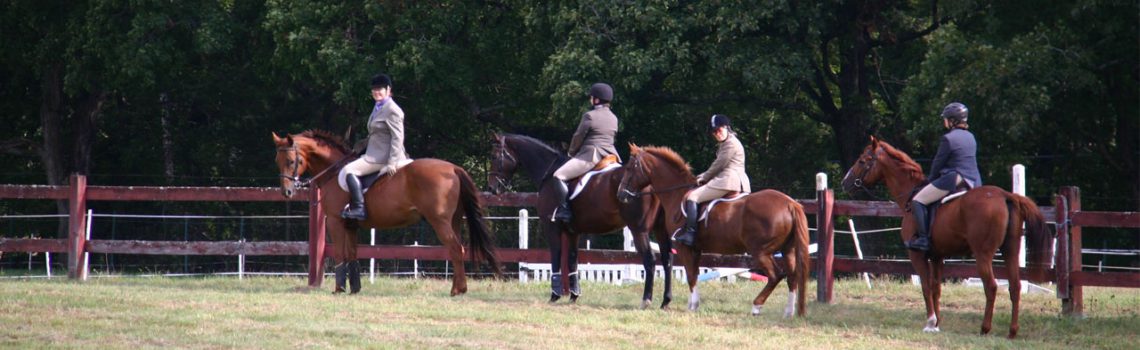
 While not technically a visor for an equestrian helmet, here’s a very clever way to dress up your hard hat and get some shade at the same time. All you need is your helmet, a straw hat, tape (and decorations) and your imagination.

If you are on Facebook, you can find the directions along with a gallery of HellHats (for inspiration) at Karen’s HellHat Posse.
If you’re not on FB, I suggest visiting the HorseandMan blog, where there is a comprehensive blog post about HellHats including instructions, tips and lots of great photos.
Here’s how the HellHat came to be:
My husband Mark Plumlee made me my first HellHat after I fractured my skull, just 5 weeks before the CMSA World competition in October 2013. He made my first HellHat that November 2013. In 2014 I won my first World Championship as a Senior Lady 2 wearing my HellHats! It truly gave me the confidence to get back in the saddle. As a spectator once told me, “You know what that hat tells me? It tells me that somebody Loves You” and “that’s one Hell of a Hat!.
In the Pictorials below, there are 2 groups of pictures. The first is our original with smaller pie cuts, the second group of pictures at the bottom is with fewer but bigger pie cuts. Both sets of picture directions are basically the same.
Feel free to PM us at Mark Plumlee (and Karen) facebook page if you have questions. Design is only limited by your imagination! We do suggest you start with a quality hat. Our choice is a Palm or Pressed Palm 4 1/2” brim. Hat size doesn’t really matter, but the larger the hat size you start with the less brim you’ll loose when you make your “relief” cuts or “pie” cuts. Follow the directions in the pictures below. (Cut off crown, set helmet on brim and trace around helmet (not including the visor), make your cuts to your tracing line (you can always make them longer later if it is still too small), spray with water, while wet stretch it down over your helmet so your cowboy brim sits on the helmet’s visor, make cuts a little longer if necessary, tape on). We will make one for you if you don’t feel like you can make your own. Cost would be depending on whether you send us your helmet and cowboy hat or whether we buy the helmet and cowboy hat. And Duct Tape is your best friend! You can change the duct tape and flower every day to match your competition shirt! That is what I do! We are happy to share our idea and wish you safe and successful riding! Please post pictures of you and your HellHat. · · Taken at Mission Farrier School
Love. Love. Love. Totally going to try one! Thanks, Liz!
Rode with a newfound friend on Friday who made her own HellHat. I just loved it and she told me about your webpage. I never used to wear a helmet but I started to when I started writing with this group of girls. I didn’t want to feel left out since they all wore them. Someone has sense, huh?!
I wish I could take credit for coming up with this nifty DIY project, but I am sure glad to spread the word!